Canuck
Frozen Garage Hell
- Joined
- Feb 1, 2006
- Location
- Lethbridge, AB, Canada
OK - so I thought I should finally admit that the car is off the road and I'm starting on the body work. Despite being in the occasional bit of promotion for IPD and almost winning the vintage photo contest a couple of years ago, the body on the car is not great and I've been going to do this for a long time. I usually arrive at car shows, pop the hood and then no one notices the three colours of white or the panel fit  .
.
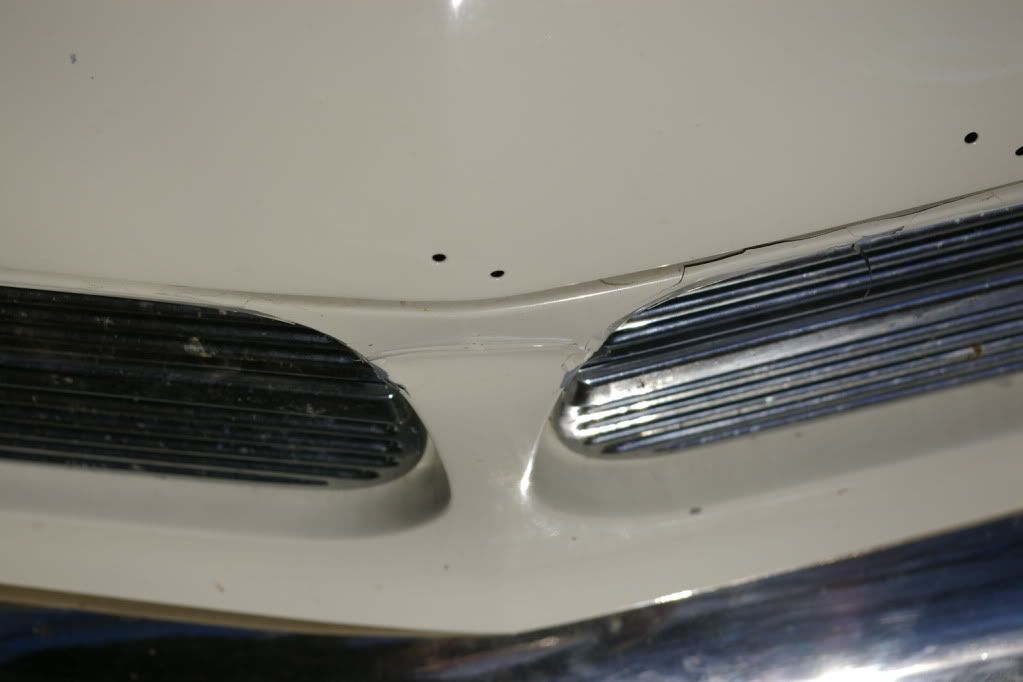
Last year one of my neighbours decided to put a crease in the nose of the car and not tell anyone
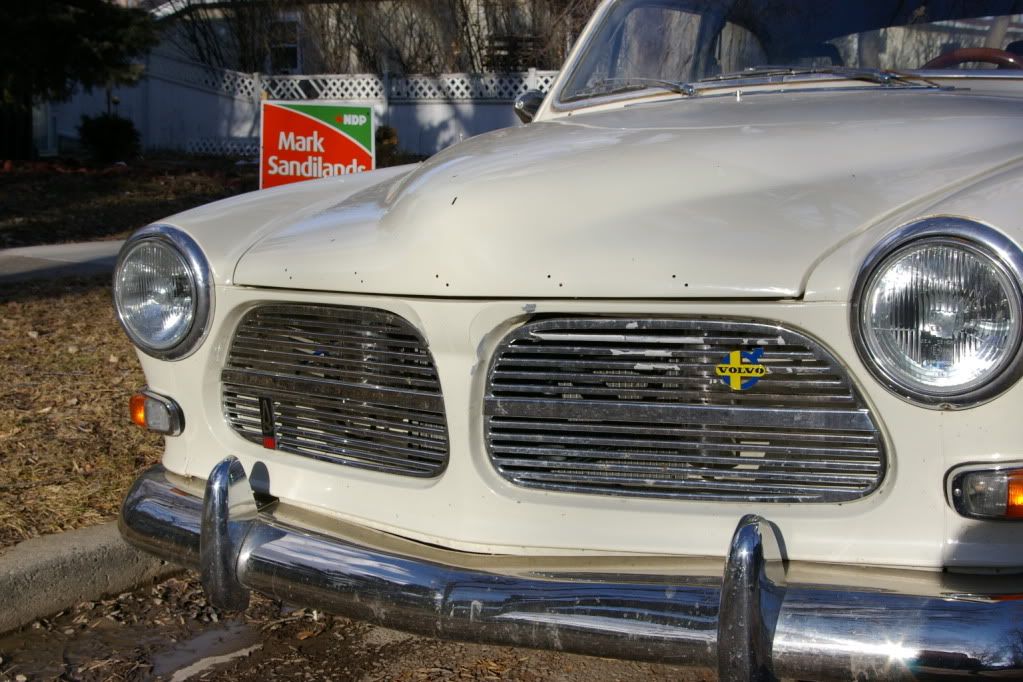
I noticed something amiss when I parked...that crease wasn't there before.
Ouch.
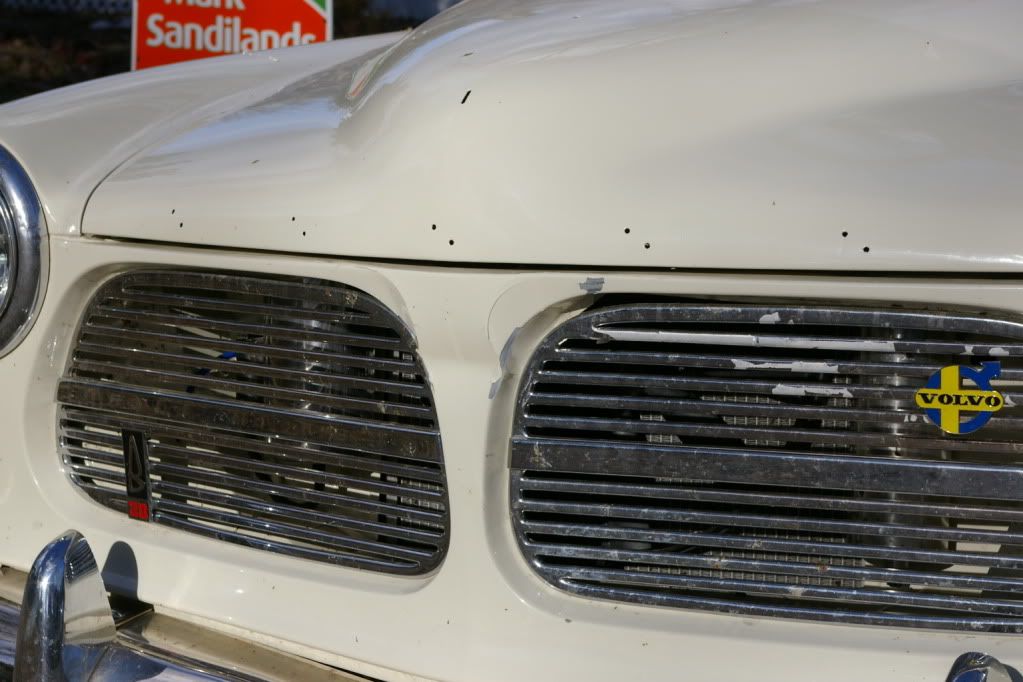
Did I mention that my nose piece was perfect before? Note the back side of the grill - this is going to be a bitch to pull.
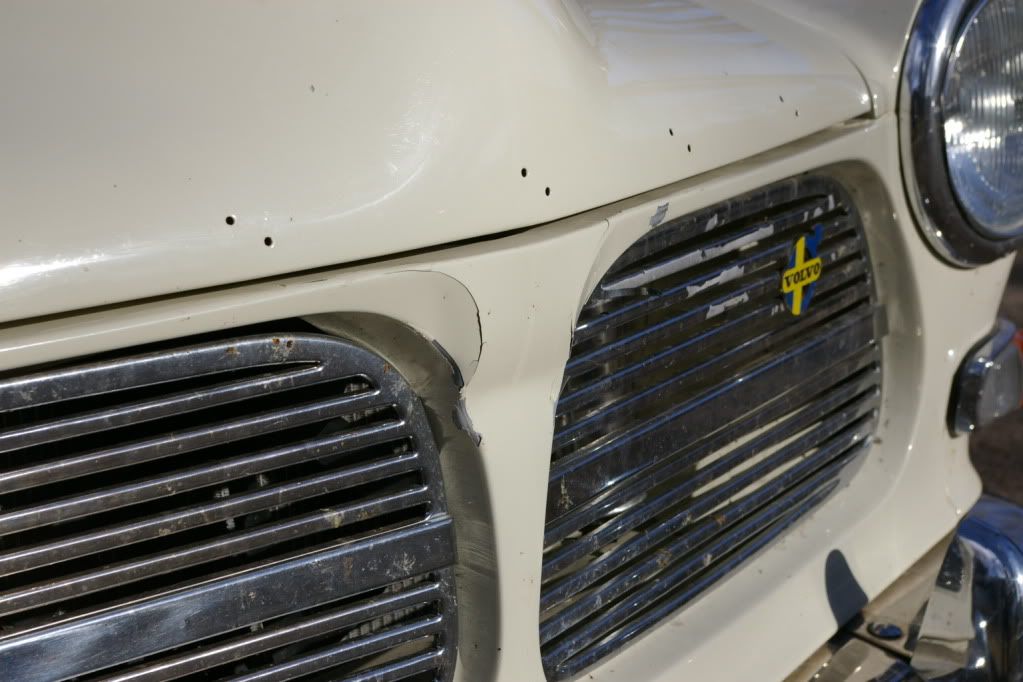
The chrome on my grills started to peel (hard to find a good chrome person) and the front bumper needs attention.
I'm just planning how I'm going to spend the cold winter months this year. I started collecting parts a few months ago as this car has a number of issues that may not be worth my time to fix. The Canuck suffers from gaps that are very 1960's and the car was not finished very well from the factory. There are major variations in panel fit, but from all the cars I've inspected, mine is pretty typical of how they should look.
I can't stand gaps that are big enough to toss a small animal through :lol . So here's the start. The hood fit is terrible. It doesn't fit front to back or side to side very well, let alone up and down. I've got to pull the fenders as I didn't use the correct seal material (which is butyl tape) when I sprayed the under hood area, so I can adjust them a little.
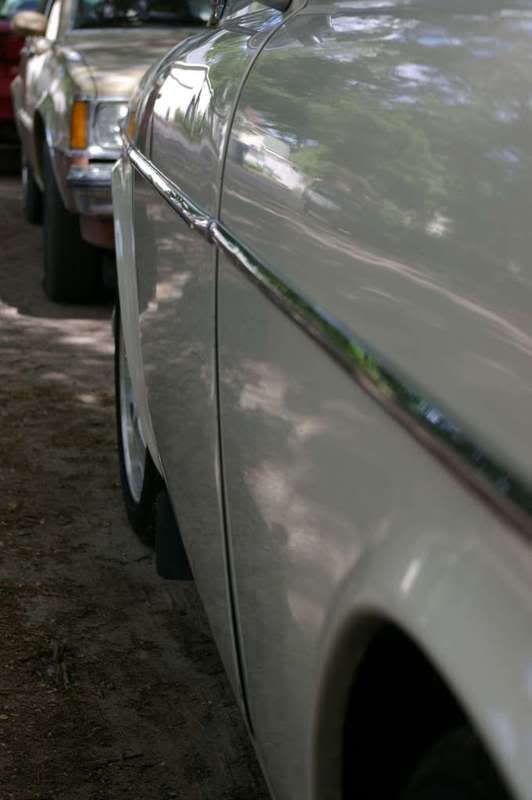
Have a look. Here's the side view...fender needs to come up, hood needs to come down??
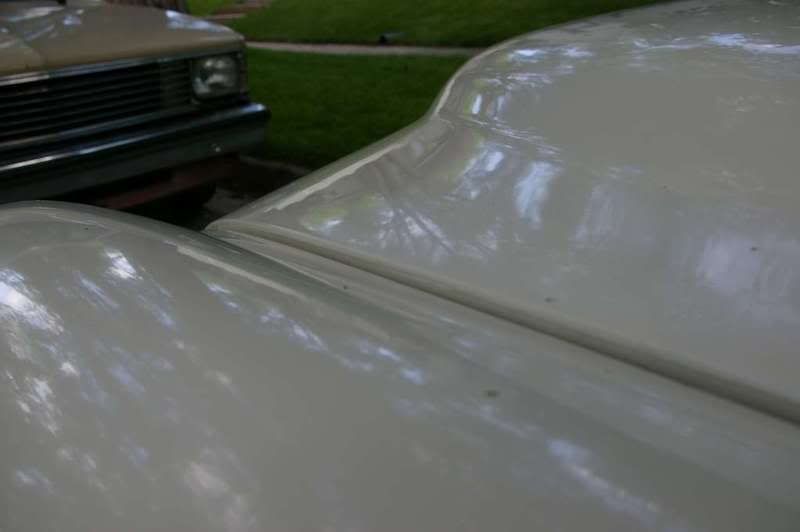
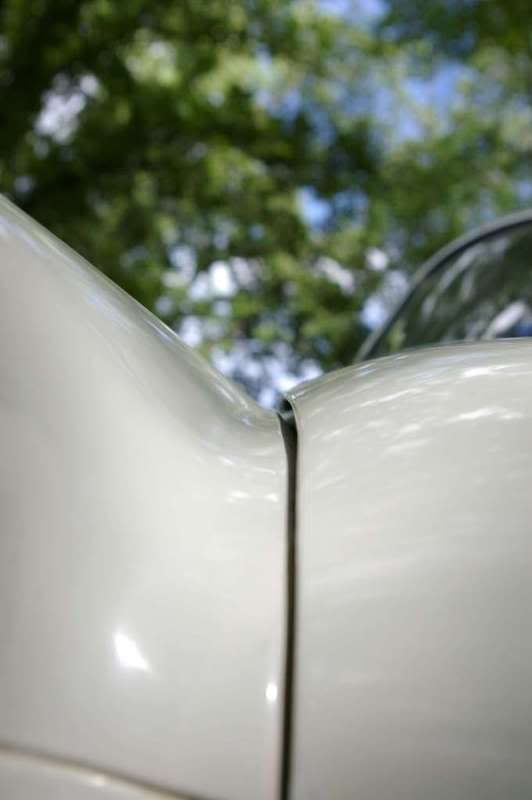
The fender can't really come up as it then wouldn't line up with the door as can be seen here.
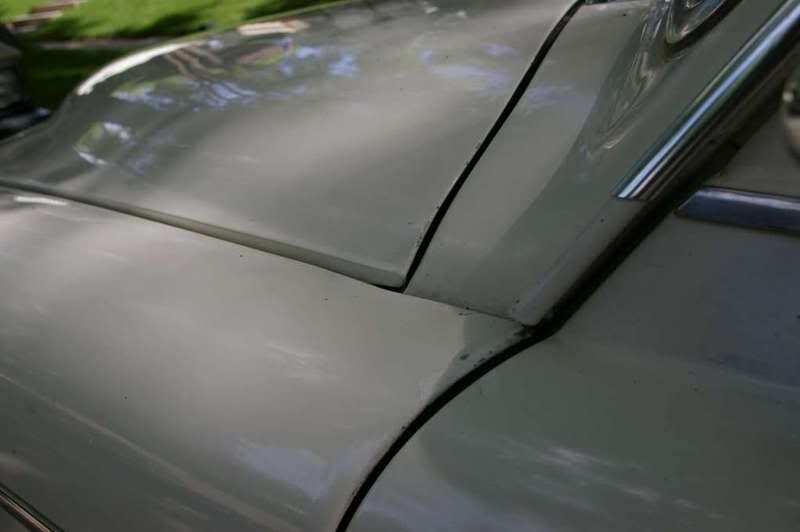
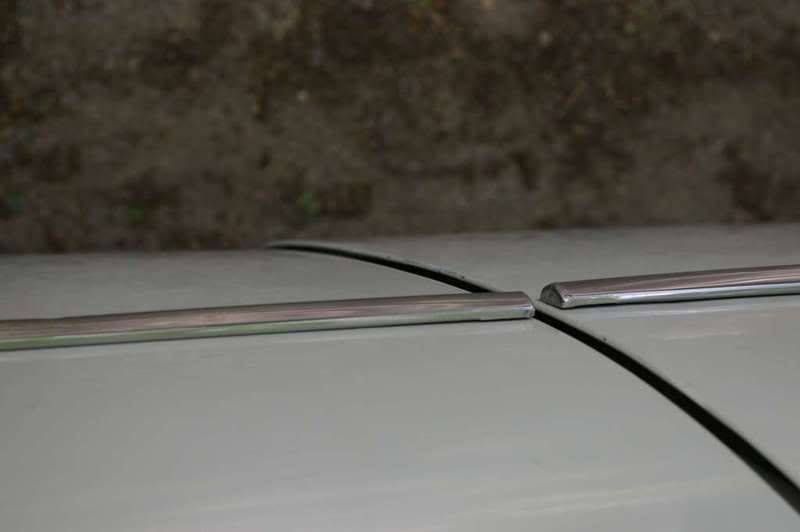
So the hood has to come down - there are adjustments on the hood, but I'm pretty much maxed out. My idea is to slot the hinges a little more and fiddle with them. My only concern is that the hood fits the cowl just fine (check out that gap )
)
On to the drivers door - passenger is fine, isn't that always the case! I've tried everything and this damn door won't fit the hole :wak
Here's a side view (fine at the top, bad at the base).
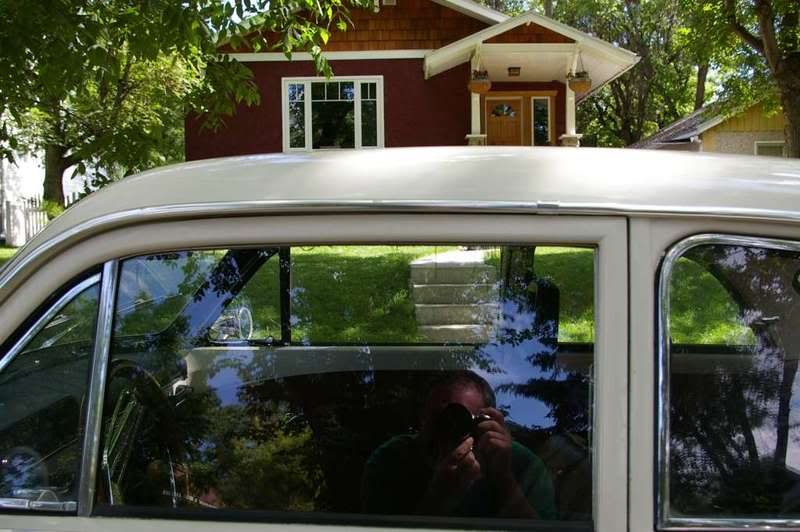
From the top - the top of the door does sit out a bit (shim top hinge).
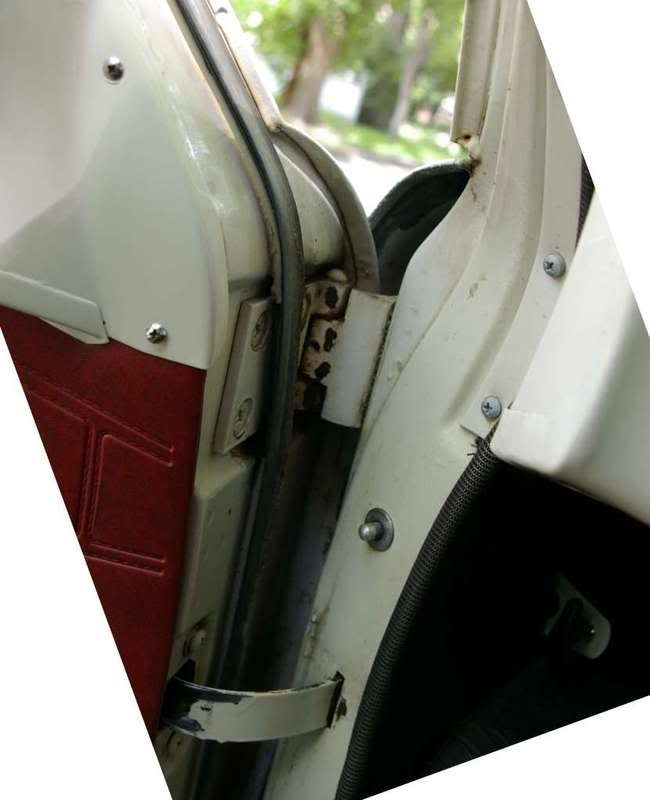
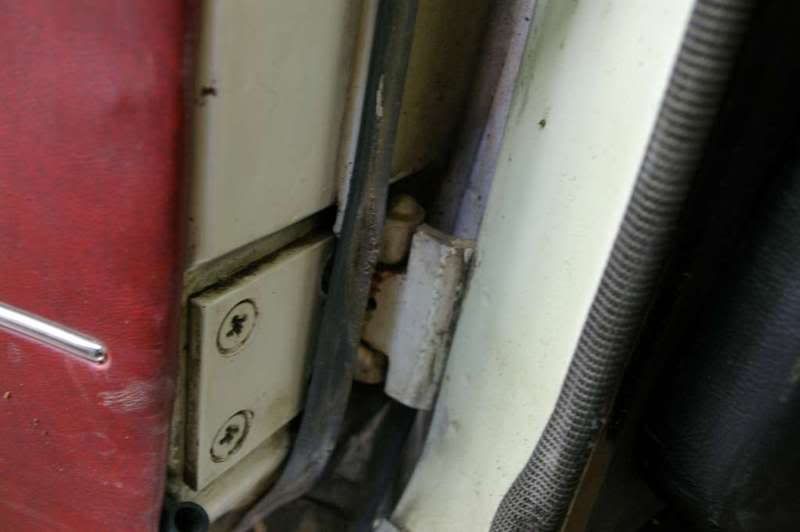
From the side - the top back side of the door frame almost hits the drip rail, while the front has space. I picked up two undented and unrusted doors - we'll try to fit them up when the fenders come off and see what happens.
Here's the hinges.
Top hinge.
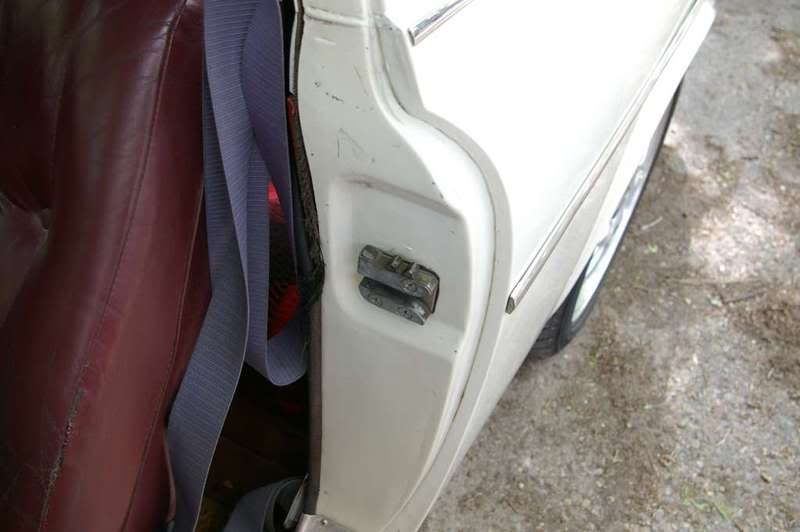
Bottom hing - fender has to be removed to adjust/shim.
Door latch - fully in as far as it will go.
The trunk has been driving me nuts for years...
The front of the trunk lid doesn't fit very well and if I try to adjust it down further then it bottom of the lid hits the body work...more cutting and welding?
Here's the side gap - doesn't fit at all (on an old gasket), hinge adjusted full down.
I picked up a new trunk lid - we'll see how it fits then I'll hit is with a new coat of code 79 when it is all perfect - and I like my bodywork straight and perfect.
So that's the body - no big deal, just lots of work.
List of things that I'm also doing to this car includes:
1. Shaved wiring (because my battery exploded and wrecked my underhood )
)
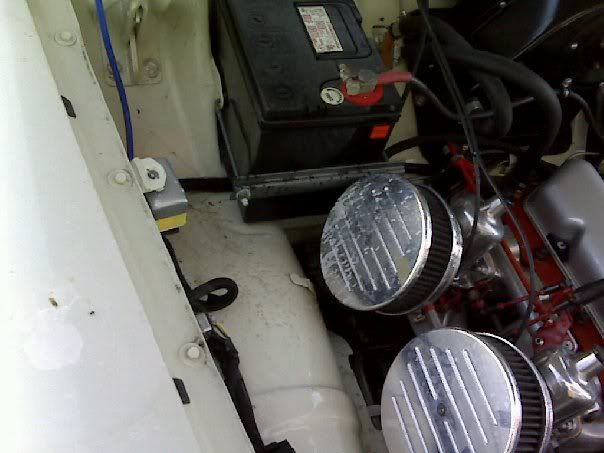
Using a Ron Francis wiring kit and weatherpack connectors everywhere - all wiring is getting tossed and the new will be hidden. Goofy HID headlights are going and good old halogens are returning to the headlights.
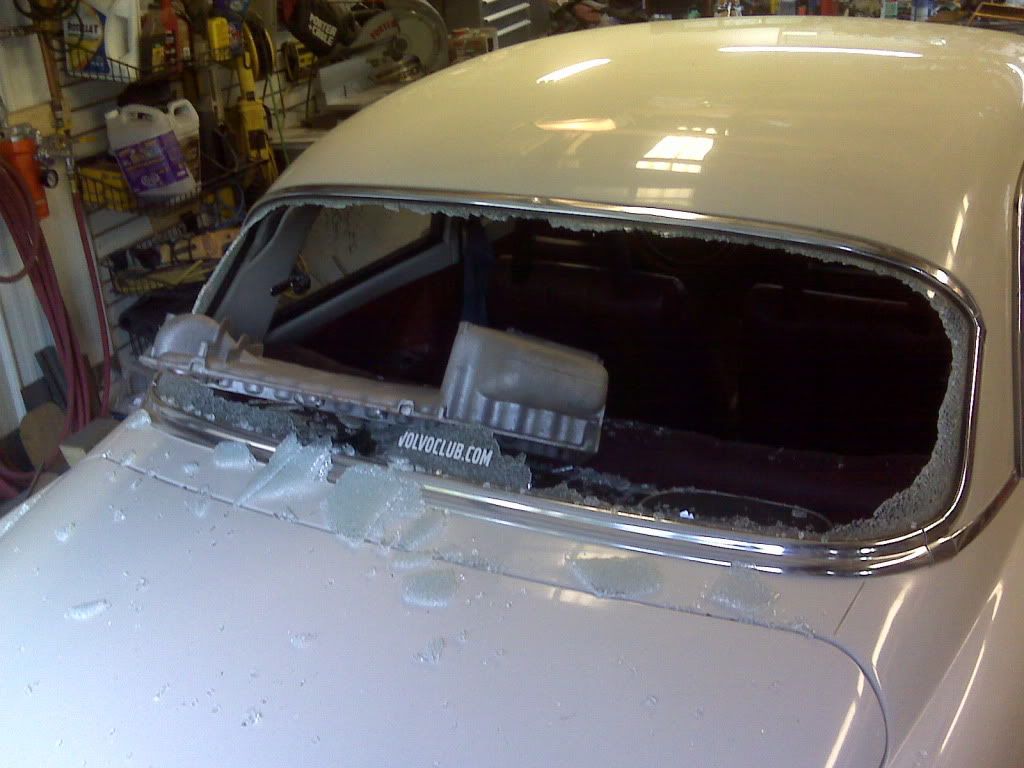
2. Replace rear window as my whiteblock oil pan sort of took care of the old one (get stuff secured in the rafters).
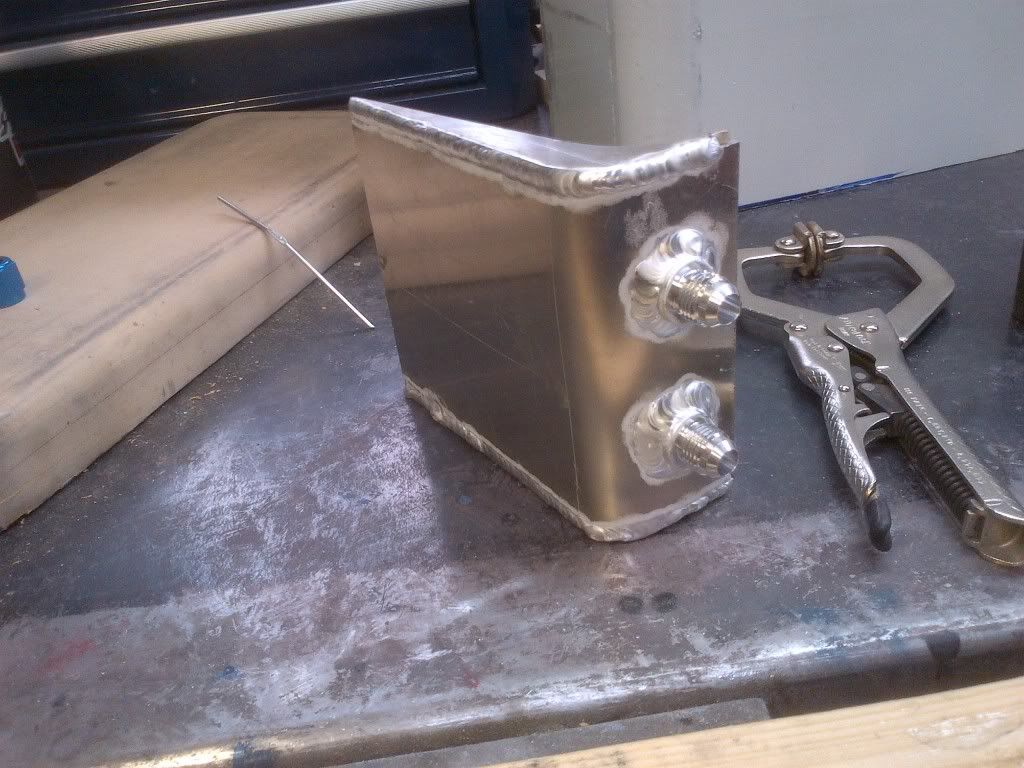
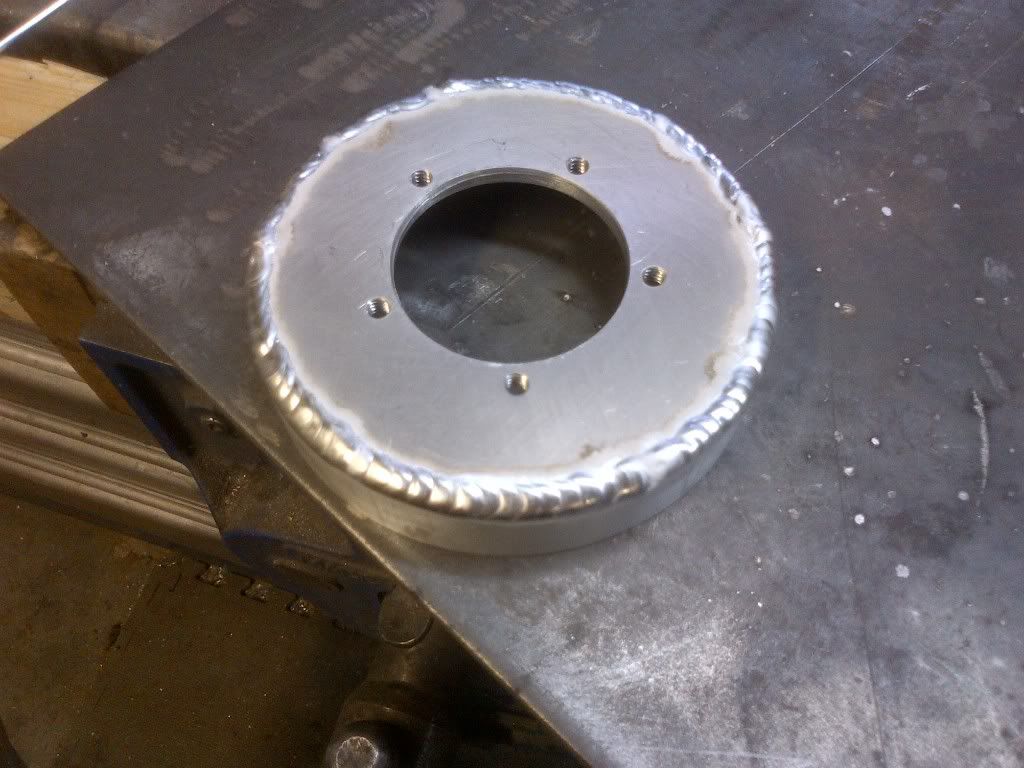
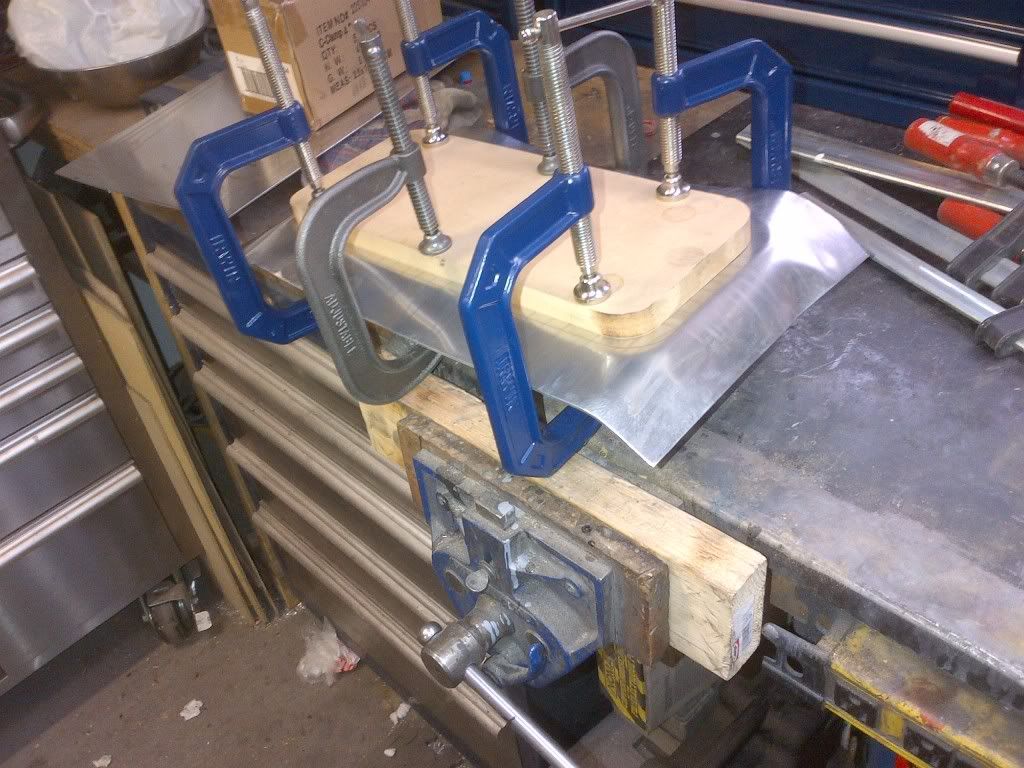
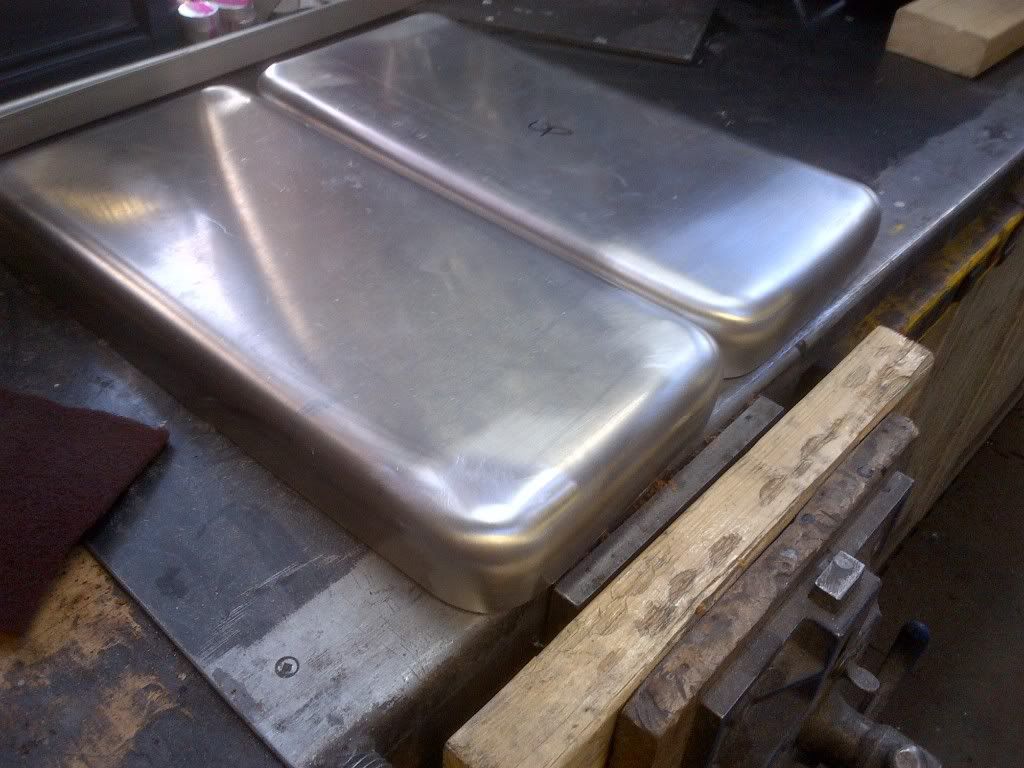
3. Fit new fuel tank as the old one is leaking and pretty much done (sender crapped out finally) - working on that right now. Will have the filler in the passenger tail light.
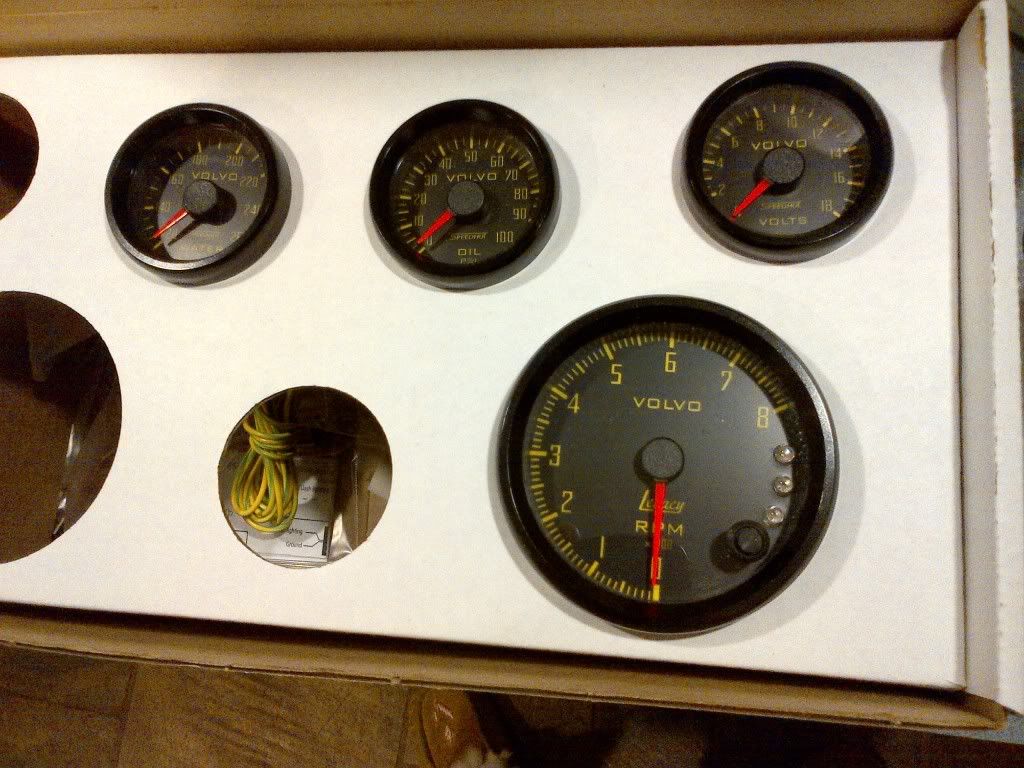
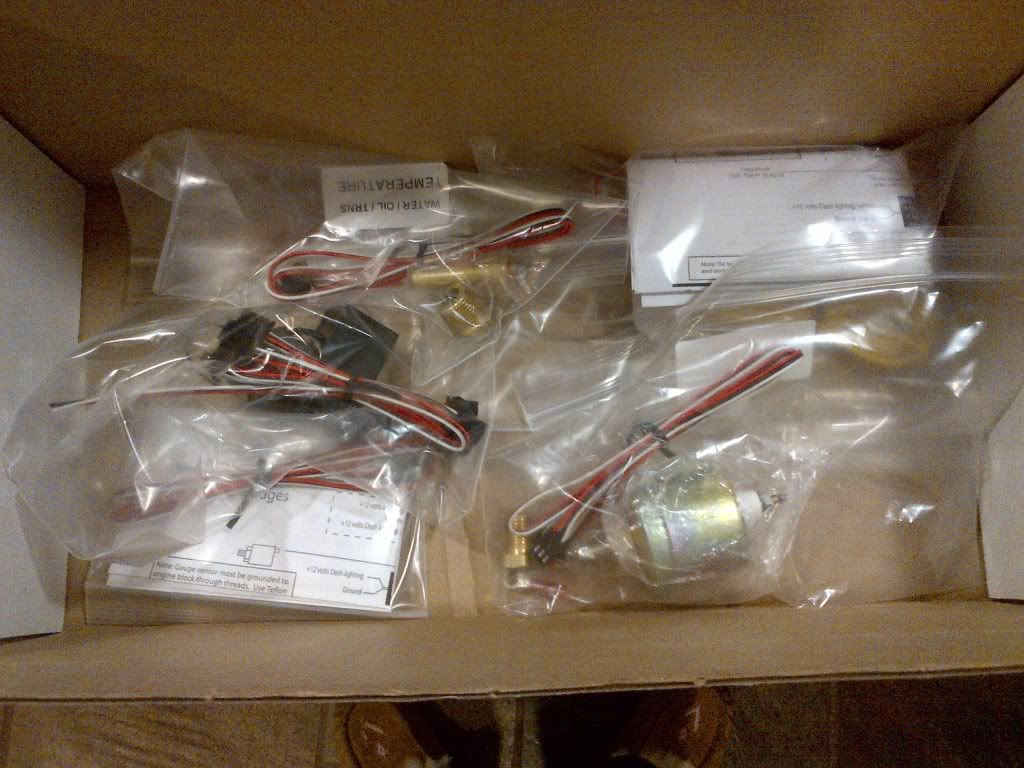
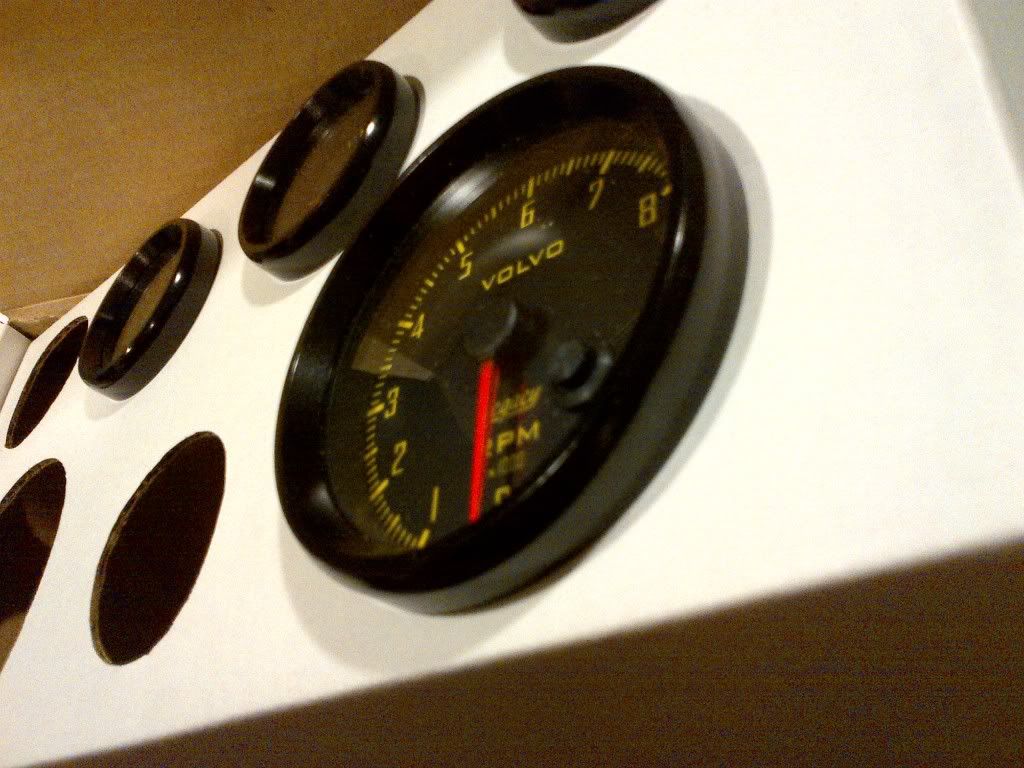
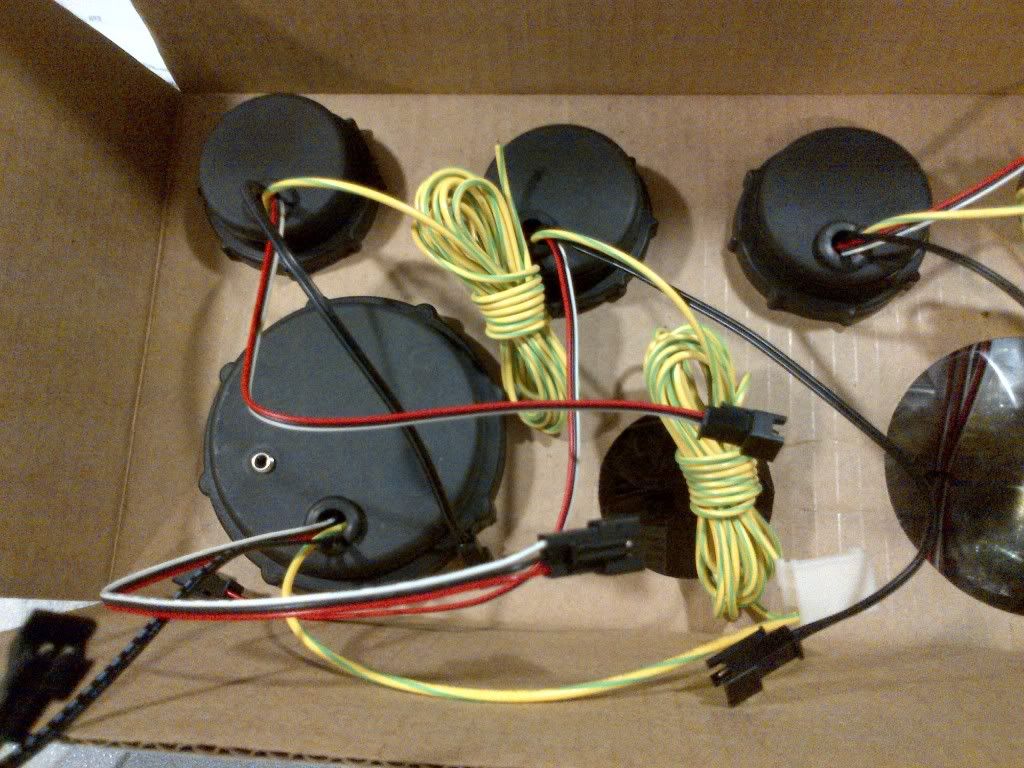
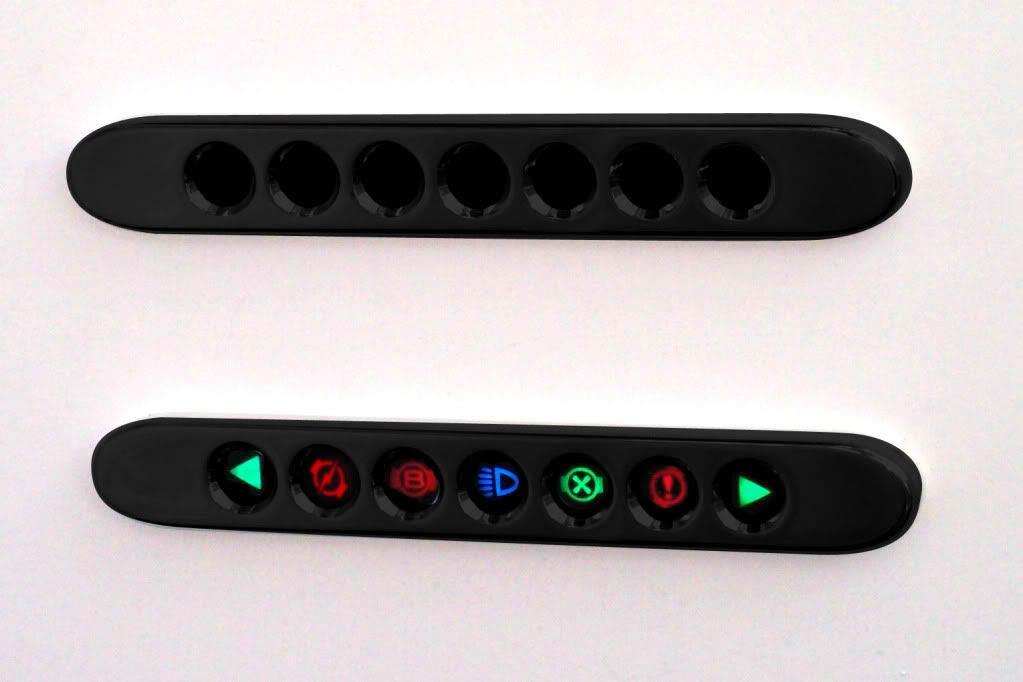
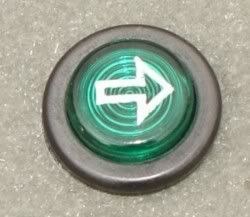
4. Make the rest as pretty on the outside as it was/is underhood and underneath. Smooth seams and make all the panels fit. Get some more chrome work done/redone, new dash layout just some mild customizing.
5. New leather interior - (summer if I'm lucky). Sticking with a rusty red colour. Debating if I should change out my tan carpet set and mats for black. The more I say it, the more I like it, but that's a detail and I've got some bigger fish to fry before this has to be decided upon.
Stay tuned for updates.
. Last year one of my neighbours decided to put a crease in the nose of the car and not tell anyone
I noticed something amiss when I parked...that crease wasn't there before.
Ouch.
Did I mention that my nose piece was perfect before? Note the back side of the grill - this is going to be a bitch to pull.
The chrome on my grills started to peel (hard to find a good chrome person) and the front bumper needs attention.
I'm just planning how I'm going to spend the cold winter months this year. I started collecting parts a few months ago as this car has a number of issues that may not be worth my time to fix. The Canuck suffers from gaps that are very 1960's and the car was not finished very well from the factory. There are major variations in panel fit, but from all the cars I've inspected, mine is pretty typical of how they should look.
I can't stand gaps that are big enough to toss a small animal through :lol . So here's the start. The hood fit is terrible. It doesn't fit front to back or side to side very well, let alone up and down. I've got to pull the fenders as I didn't use the correct seal material (which is butyl tape) when I sprayed the under hood area, so I can adjust them a little.
Have a look. Here's the side view...fender needs to come up, hood needs to come down??
The fender can't really come up as it then wouldn't line up with the door as can be seen here.
So the hood has to come down - there are adjustments on the hood, but I'm pretty much maxed out. My idea is to slot the hinges a little more and fiddle with them. My only concern is that the hood fits the cowl just fine (check out that gap
)On to the drivers door - passenger is fine, isn't that always the case! I've tried everything and this damn door won't fit the hole :wak
Here's a side view (fine at the top, bad at the base).
From the top - the top of the door does sit out a bit (shim top hinge).
From the side - the top back side of the door frame almost hits the drip rail, while the front has space. I picked up two undented and unrusted doors - we'll try to fit them up when the fenders come off and see what happens.
Here's the hinges.
Top hinge.
Bottom hing - fender has to be removed to adjust/shim.
Door latch - fully in as far as it will go.
The trunk has been driving me nuts for years...
The front of the trunk lid doesn't fit very well and if I try to adjust it down further then it bottom of the lid hits the body work...more cutting and welding?
Here's the side gap - doesn't fit at all (on an old gasket), hinge adjusted full down.
I picked up a new trunk lid - we'll see how it fits then I'll hit is with a new coat of code 79 when it is all perfect - and I like my bodywork straight and perfect.
So that's the body - no big deal, just lots of work.
List of things that I'm also doing to this car includes:
1. Shaved wiring (because my battery exploded and wrecked my underhood
)
Using a Ron Francis wiring kit and weatherpack connectors everywhere - all wiring is getting tossed and the new will be hidden. Goofy HID headlights are going and good old halogens are returning to the headlights.
2. Replace rear window as my whiteblock oil pan sort of took care of the old one (get stuff secured in the rafters).
3. Fit new fuel tank as the old one is leaking and pretty much done (sender crapped out finally) - working on that right now. Will have the filler in the passenger tail light.
4. Make the rest as pretty on the outside as it was/is underhood and underneath. Smooth seams and make all the panels fit. Get some more chrome work done/redone, new dash layout just some mild customizing.
5. New leather interior - (summer if I'm lucky). Sticking with a rusty red colour. Debating if I should change out my tan carpet set and mats for black. The more I say it, the more I like it, but that's a detail and I've got some bigger fish to fry before this has to be decided upon.
Stay tuned for updates.